How to Shingle a Shed Roof? Steps, Materials, and More
Learning how to shingle a shed roof seems like an easy task - right?
Well, even though there are different steps to follow, the truth is that you can easily learn the whole process of installing your shingles in a shed. However, it's important to mention that you'll require some time and effort to complete all the tasks.
Keep reading to discover all the steps from start to finish for your project.
How to shingle a shed roof:
- Roll out and staple down roofing felt in overlapping rows.
- Install the drip edge over the gable end felt and under the eaves felt.
- Attach the starter strip
- Nail down the shingles in an overlapping pattern that covers seams and nails.
Advanced Steps to Install Your Shingles in a Shed Roof That Contractors Don't Want You to Know
Clean the Place
The first step in shingling a shed roof is removing the trim and the existing roof. This will leave you with a clean, flat roof that will look great for years. Besides saving money, you'll be able to save a lot of money by shingling the shed yourself. You'll be glad you did it later when you're ready to tackle the bigger job.
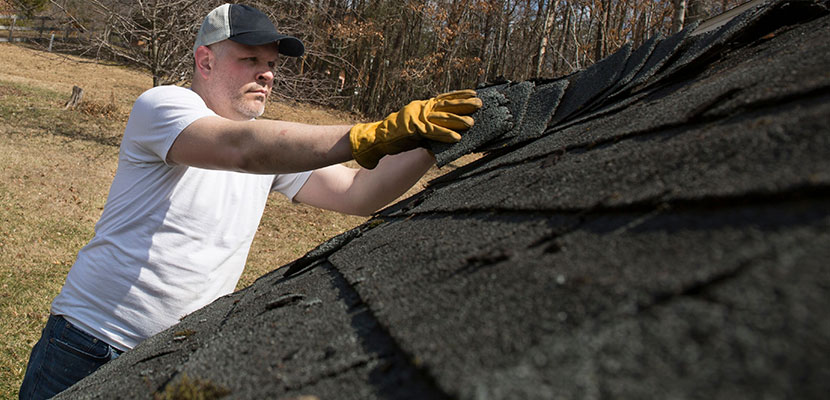
When you are ready to shingle a shed roof, you need to remove the old ones. To do this, you can use a shovel or a fork to loosen the edges of the old shingles. If the old shingles aren't rotten, you can reuse them.
Start Measuring and Placing the Shingles
Before shingling your shed, you need to measure the size of the shed and cut the shingles into strips. The first row should be wide enough to overlap the nails of the previous course and should be laid flush with the rake end.
Then, perpendicularly apply shingles. Use an adhesive strip to secure the shingles, which should point towards the top of the shed.
Use an Adhesive Membrane
First, lay down an adhesive membrane and the top row of shingles. Once this is completed, install a drip edge over the drip edge of the shingles. Make sure to nip each end of the shingle in the tar strip. This will prevent extra shingles from being installed on the roof.
Then, install the remaining shingles. When you have completed the top row, cover it with an adhesive membrane and apply one nail on each end.
After the Tar Paper Has Been Applied, It Is Time to Begin the Shingling Process.
You need to apply roofing paper to the roof of the shed. The roofing paper will help protect the shingles and make them more durable. The shingling process is a thorough one, and the different layers will affect the strength and absorbing capacity of the roof. During this step, you should be aware of the different phases of the shingling process.
Verify All Shingles Are Correctly Installed
The shingles should be evenly spaced on the roof. The tabs of the shingles should be overlapping one another so that they don't overlap each other. This will ensure that the shingles provide adequate protection from the elements.
You should lay the shingles until you reach the peak of the shed. Don't forget to cover the vents and chimneys. These are usually placed in the center of the shed roof and face the sky.
How to Shingle a Shed Roof? You Can Also Call Our Team of Experts
If you want to save time and money while getting the best results, you need to call our team.
We have several decades of experience offering different roofing services and more advanced construction solutions to the community.
Call us now to learn the customized solutions for you and your family.
- 617.674.0655
- contact@americanteamcontracting.com
- Monday to Friday from 6am to 5pm
- Saturdays from 8 am to 4:30 pm
- We Are Licensed and Insured
- We Accept Cash, Checks, Credit and Debit Cards